Photographic Lithography

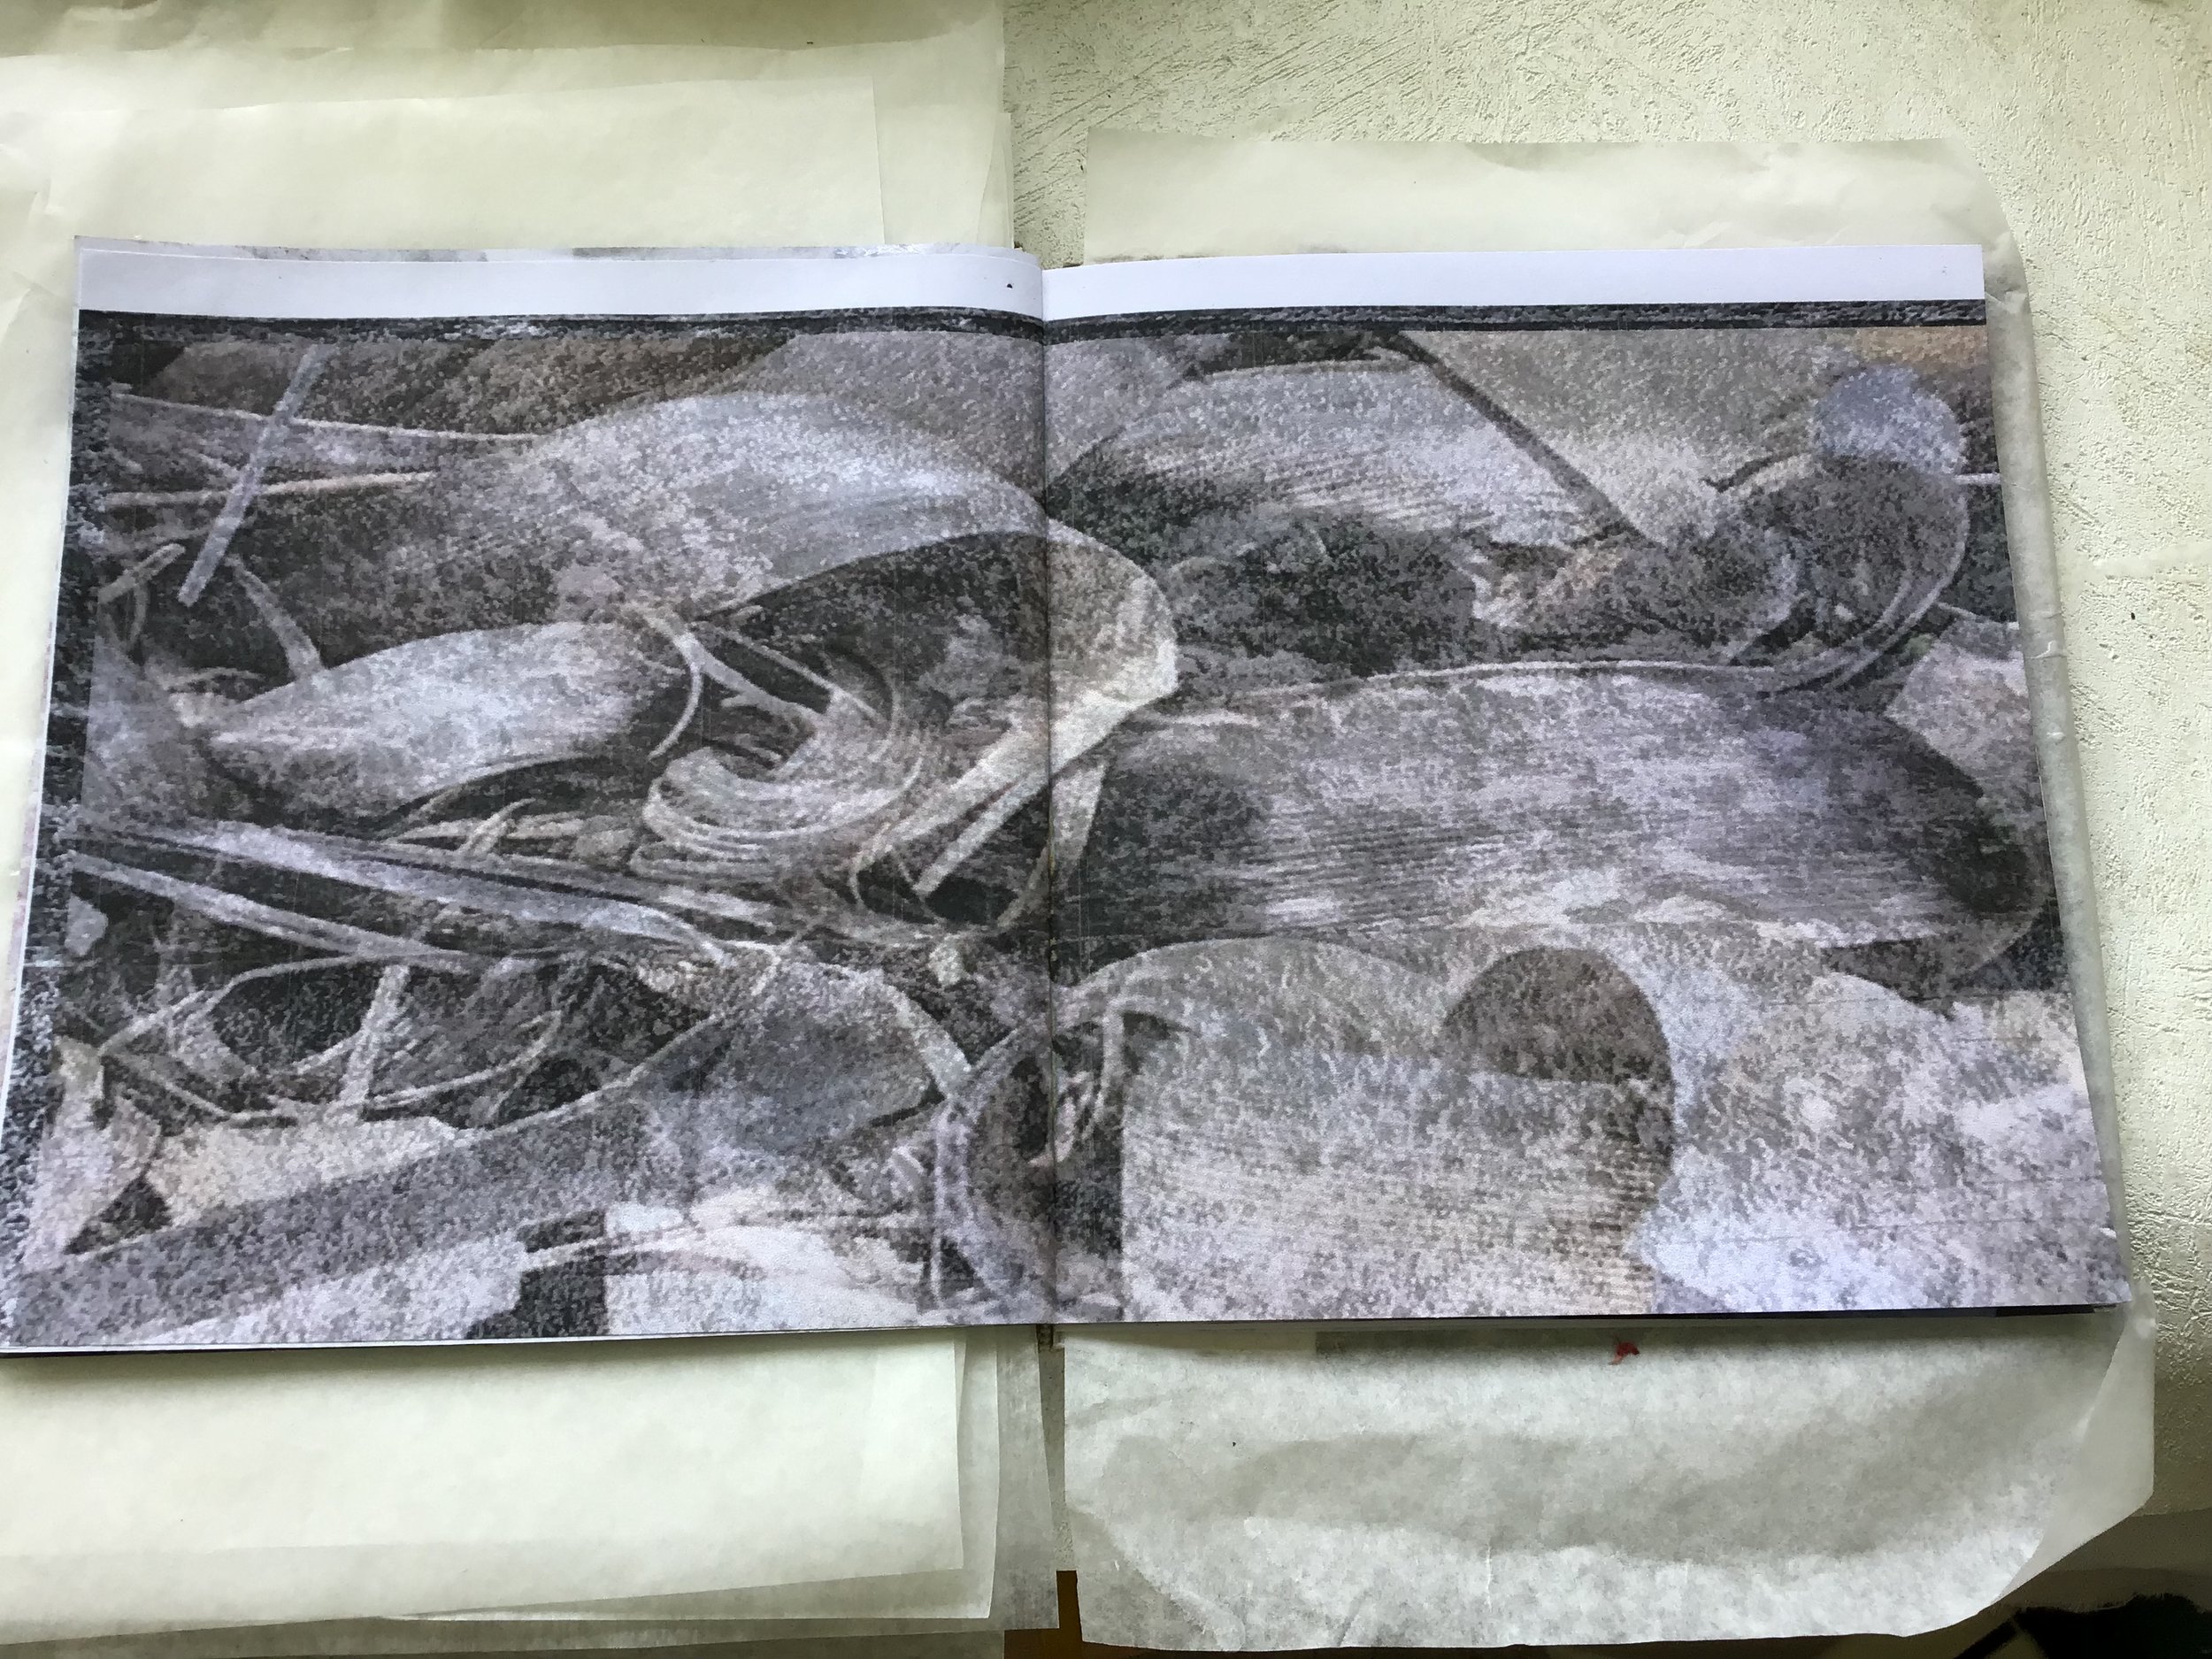
The original photographic lithography print before cutting up
Traditional lithography uses as stone plate to print from. In an on line course run by Sally Tyrie (UK) I learnt this technique that uses a laser print (must be toner based so inkjet will not work) and oil based printing ink (acrylic ink will not work) The chemistry behind the success of this work is the oil adheres to the toner part of the print and can be removed from the white paper parts. In the image above you can see there is some printer “noise” not uncommon in traditional print effects.
The laser image needs to be clear black and white. The oil based printing ink is spread evenly and thinly over the print and then the print is rinsed under running water. If more of the ink needs to be removed from the white areas you can use a soft cloth to rub over those areas where there is no toner so that they become more defined.
This could then be printed in a press but as I do not have a printing press, I am always interested in ways to print in a home studio that do not require a press. The substrate to print on needs to be soaked in water and then patted dry with a towel (similar to traditional printing methods). I used 130gsm watercolour for this process paper but a tightly woven fabric should also work though I haven’t played around with that.
The inked image is placed ink side down on the substrate and then a sheet of deli paper put over the top to help protect the paper. Using a barren or a brayer firmly press all over the paper. Lift up a corner to check how the imprint is being transferred. If the transfer isn’t well advanced keep working the top of the paper. Once you are satisfied, lift the paper away. Note the image will be in reverse so if you have text or the image is important to be round one way you will need to reverse image the original print before you laser print it.
In this course my personal focus was on working with decay and deterioration so I used a photo I had taken at Mokau of sprayed pampas grass that was in the throes of breaking down.
I am primarily a representational artist but in this course I wanted to push myself toward abstraction. The image below was part of an on line exhibition from the course entitled “What is revealed and what is concealed.” My focus here was to present the lithograph extracted to lines and forms that did not influence the viewers perception of the original piece. We were also encouraged to present our work in alternate ways so I cut up the lithograph and mounted it in small white frames that were then mounted diagonally in black box lid frames.
A further development using the same image was to use filters and overlays to present printed images of the decaying pampas grass. These were displayed in a small book format that was also part of the course.
I always find the abstraction process challenging so this was quite a challenge for me. The fact that I could reproduce the images and start over relatively easily helped me not be too precious in cutting up the original to concentrate on line and shape.
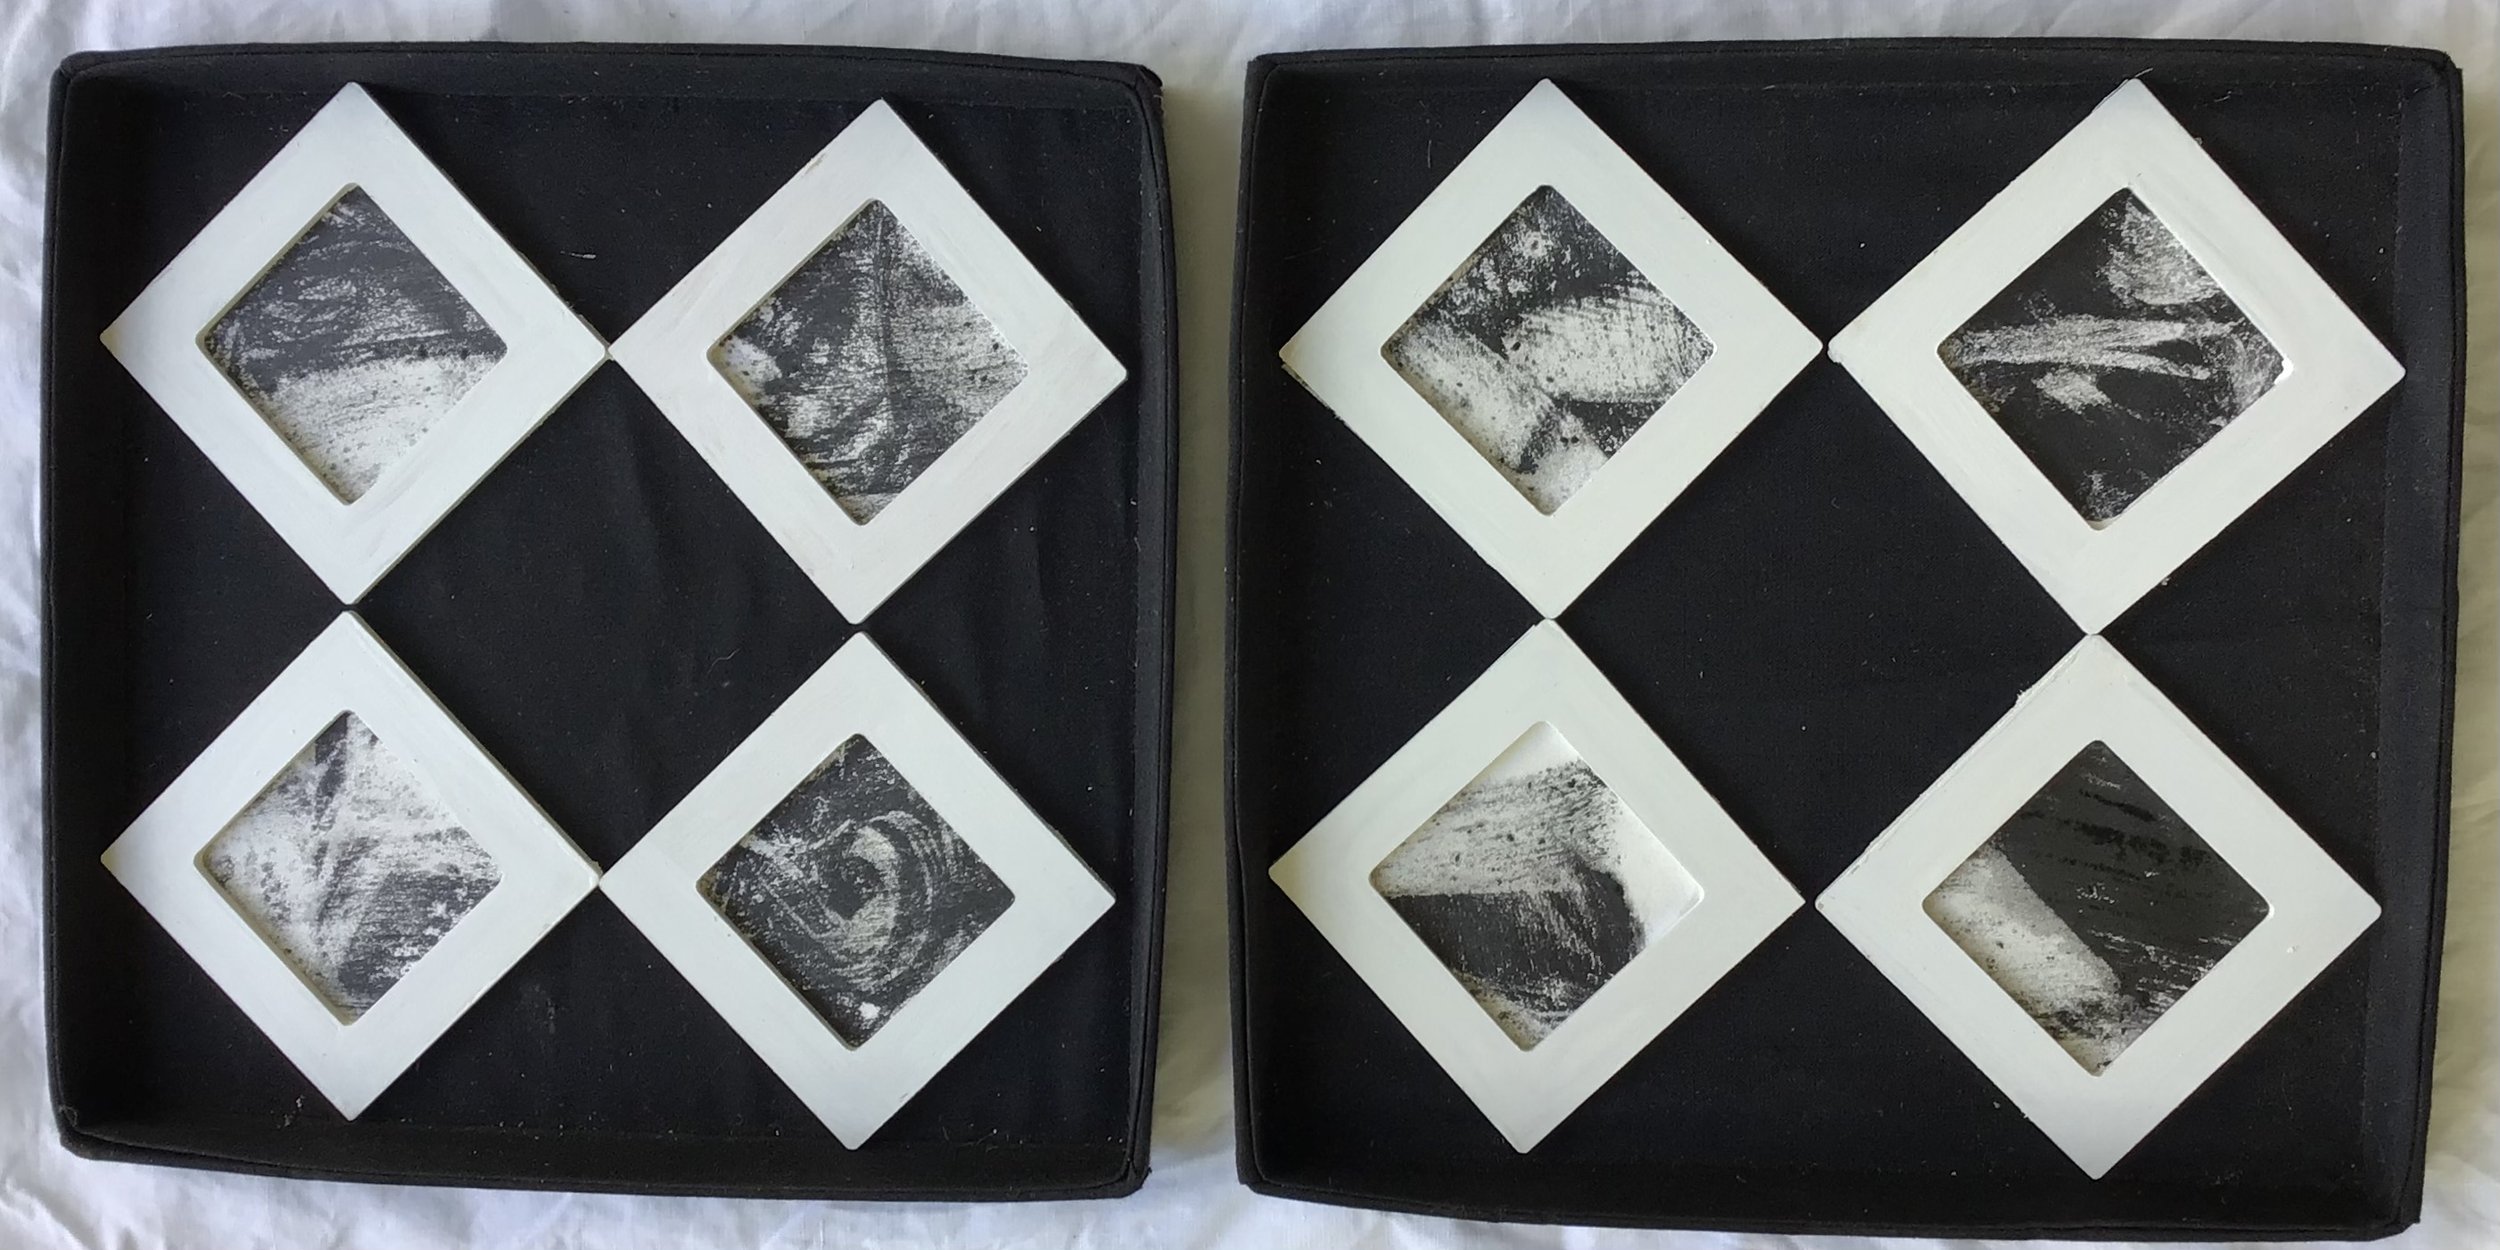

The cut up prints in box frame The bound book Filters of the original papas image